
How to use a blender accessory
Learn clear steps on How to use a blender accessory for daily cooking tasks, safety tips, cleaning, and common mistakes so you get smooth, safe, and tasty results every time.
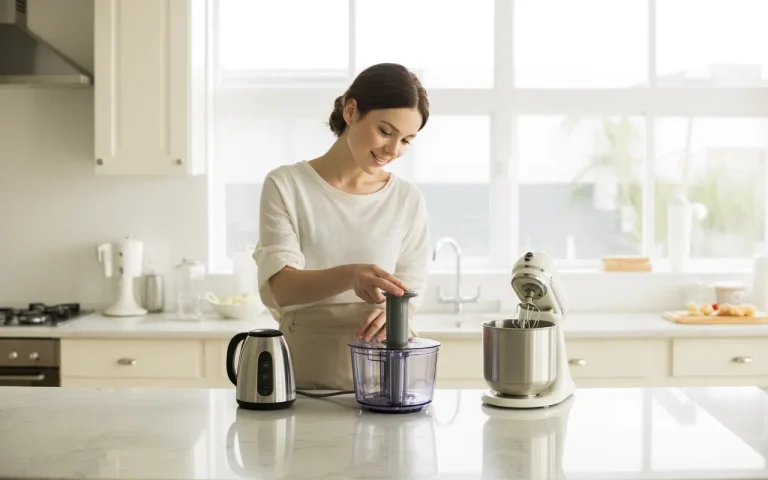
Learning How to use a blender accessory can make daily food prep easier, faster, and safer. Many people own a blender, yet they only use the main jar and blade. That means they miss out on useful tools that come with the machine. These add-ons help with chopping, grinding, whipping, kneading, and even making baby food. With a little care and clear steps, anyone can use them with confidence.
Blender accessories are made for simple tasks. They save time and help keep textures even. You do not need special skills. You only need to know which accessory does what, how to fix it in place, and how to clean it after use. This guide explains each step in plain words, with real tips that come from daily kitchen use.
As home cooking grows in many regions, including cities and small towns, people want tools that feel easy and safe. This article focuses on that need. You will find step-by-step help, safety advice, tables for quick checks, and answers to common questions. Everything is written to help real users, not to confuse them.
“Good tools work best when people feel calm and clear while using them.”
Author: Maria Lewis
What Is a Blender Accessory and Why It Matters
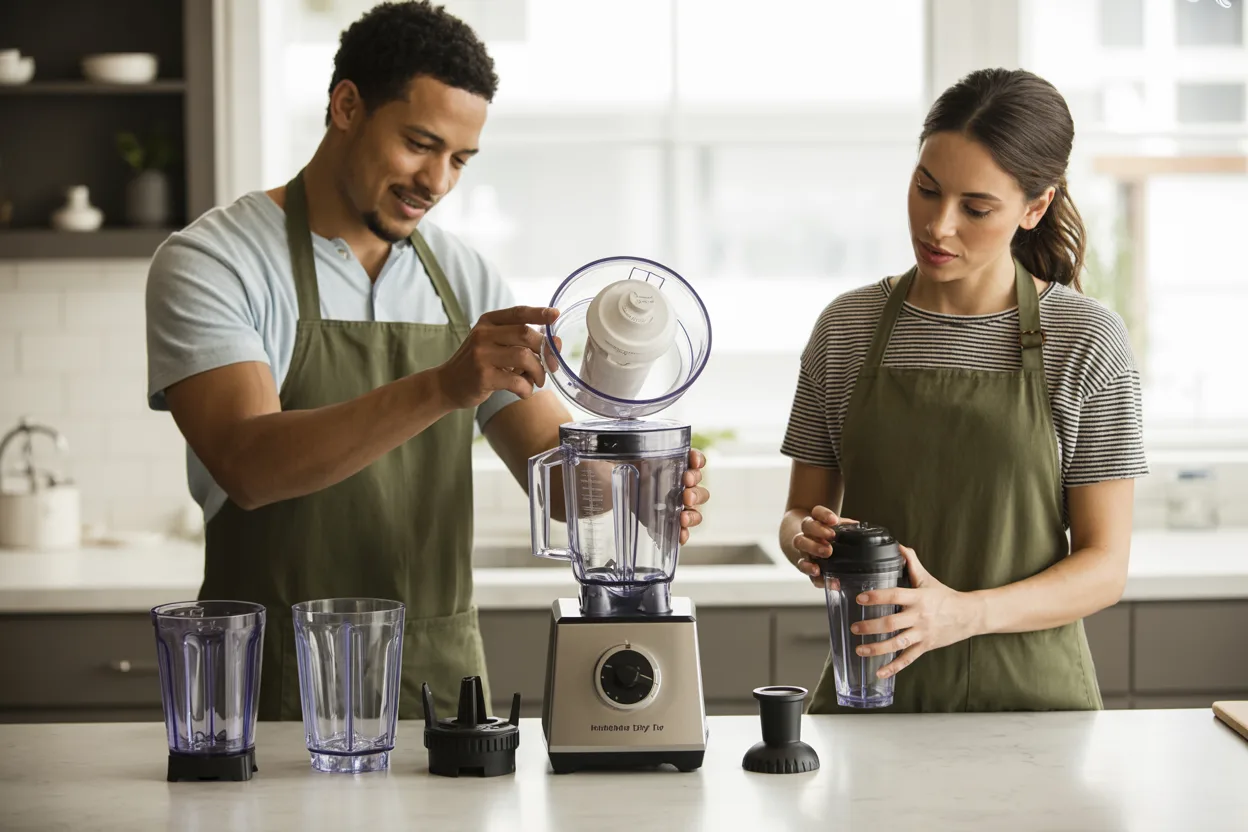
A blender accessory is any extra part that comes with or fits into a blender to do a special task. The most common ones include dry grinding jars, chutney jars, whisk tools, dough hooks, and slicing or chopping blades. Each one has a clear role.
Using the right accessory helps you get better results. For example, a dry grinder gives fine spice powder. A whisk tool helps beat cream or eggs with less effort. A dough hook mixes dough in minutes. These parts also help protect the main blade from wear by sharing the load.
Knowing How to use a blender accessory also reduces waste. Food blends faster and more evenly. You do not need to stop and scrape as often. This makes cooking smoother and less tiring.
Common Types of Blender Accessories You May Have
Most blenders come with at least two or three accessories. Some high-end models include more. Below is a short table that lists common accessories and their main use.
Common Blender Accessories and Uses
| Accessory Name | Main Use |
|---|---|
| Dry Grinding Jar | Spices, coffee beans |
| Chutney Jar | Pastes, dips |
| Whisk Tool | Eggs, cream |
| Dough Hook | Bread, roti dough |
Each accessory fits in a certain way. Always check the manual for your model. If you lost it, many brands post guides online.
How to Set Up a Blender Accessory Safely
Before you plug in the blender, take a moment to check each part. This step is often skipped, yet it helps avoid spills or damage.
First, place the blender base on a flat, dry surface. Then select the accessory you need. Make sure it is clean and dry. Fix it firmly into the jar or base, depending on the design. You should feel a slight click or firm hold.
Now you are ready to learn How to use a blender accessory in a safe way. Add ingredients only up to the marked level. Overfilling can cause leaks or uneven mixing. Close the lid well. Only then plug in the blender.
Step by Step Guide to Using Blender Accessories
This section gives clear steps that work for most blender models. Always adjust based on your brand guide.
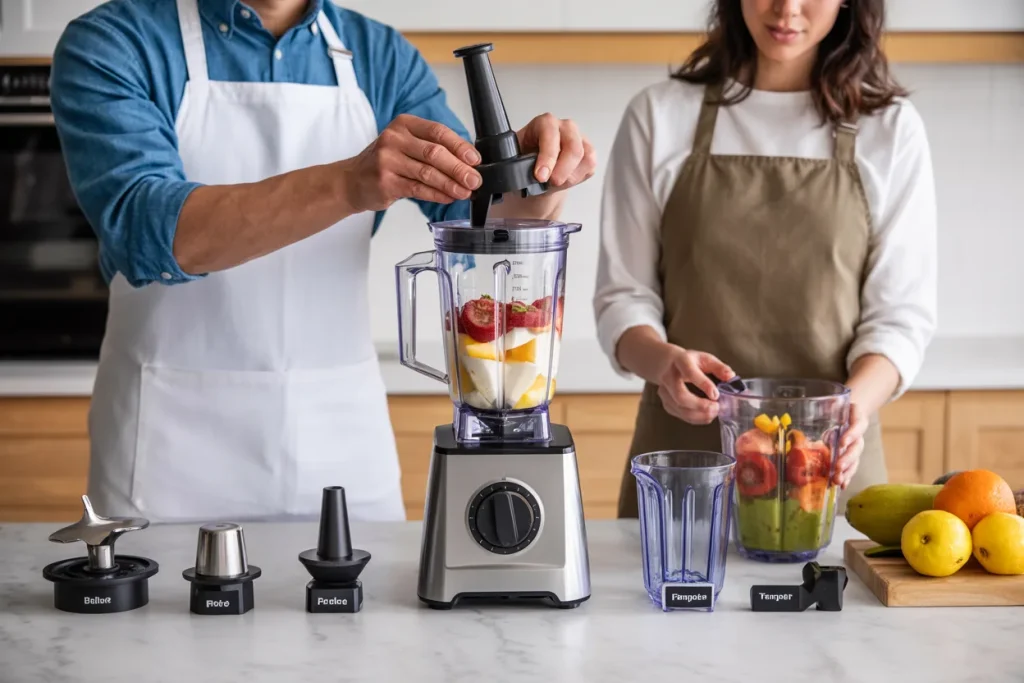
Step 1: Choose the Right Accessory
Pick the tool that matches your task. Do not grind spices in a wet jar. Do not knead dough with a blade meant for liquids. The right match gives smooth results and keeps parts safe.
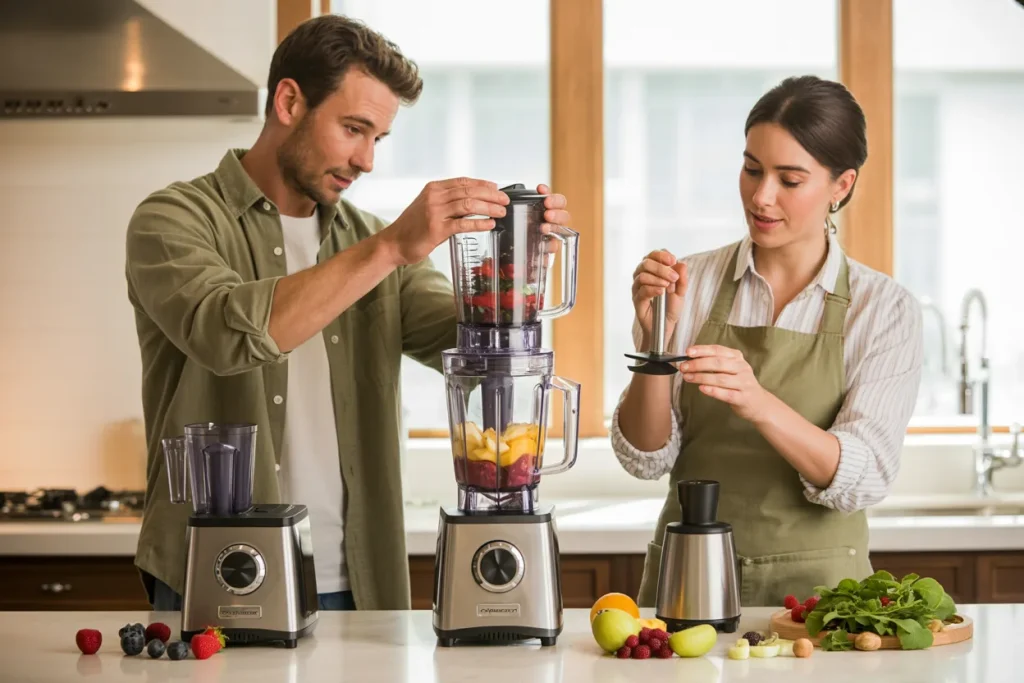
Step 2: Prepare Ingredients
Cut large items into small pieces. Remove seeds if needed. This helps the blender work with less strain. Clean and dry all items before adding them.
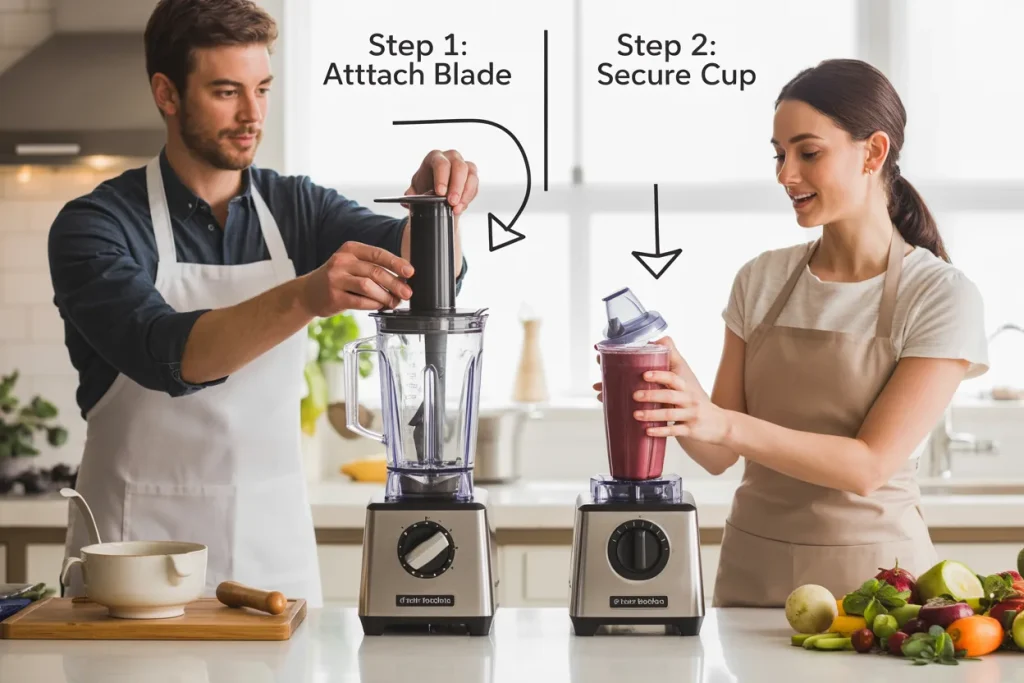
Step 3: Fix and Lock the Accessory
Place the accessory in position and lock it well. This step is key in How to use a blender accessory the right way. A loose fit can cause noise or spills.
Step 4: Start with Low Speed
Begin at a low speed. Increase slowly if needed. This gives you more control and avoids splashing.
Step 5: Stop and Check
Stop the blender once or twice to check texture. Use a spatula if needed. Never use fingers inside the jar.
“Simple steps build strong habits in the kitchen.”
Using Popular Blender Accessories the Right Way
Each accessory has its own method. Here are clear tips for common ones.
Dry Grinding Jar
Use this for spices, grains, or coffee. Make sure all items are dry. Pulse in short bursts. This method helps avoid heat build-up. Knowing How to use a blender accessory like this keeps flavor fresh.
Chutney or Paste Jar
Add liquids in small amounts. Start slow. Stop to scrape sides. This helps get a smooth paste without lumps.
Whisk Tool
Use this for eggs or cream. Keep speed medium. Over-speed can cause splashing. This tool saves time and effort.
Dough Hook
Add dry items first, then liquids. Mix in short runs. Check dough feel with clean hands after stopping the blender.
Common Mistakes and How to Avoid Them
Many users face small issues that are easy to fix. Here is a short table that shows common mistakes and solutions.
Common Mistakes and Easy Fixes
| Mistake | Simple Fix |
|---|---|
| Overfilling jar | Fill to marked level |
| Wrong accessory | Match tool to task |
| High speed at start | Begin on low speed |
Learning How to use a blender accessory also means learning what not to do. Avoid running the blender empty. Avoid washing parts in very hot water unless the manual allows it. Small habits protect the machine.
Cleaning and Care Tips for Long Life
Cleaning is as important as use. Always unplug the blender before cleaning. Remove the accessory and rinse it right away. This stops food from drying and sticking.
Use mild soap and warm water. A soft brush helps clean blades. Dry all parts well before storing. Moisture can cause odor or rust.
When you follow How to use a blender accessory along with good cleaning habits, the tool lasts longer and stays safe.
Safety Tips Everyone Should Follow
Safety matters in every kitchen. Keep hands away from blades. Do not leave the blender running without watching it. Keep cords away from water.
If the blender makes odd sounds, stop and check. Never force an accessory into place. These tips help users of all ages feel at ease while cooking.
“Safety in the kitchen starts with small, steady care.”
How Blender Accessories Save Time and Effort
Using accessories cuts down prep time. Tasks that took ten minutes by hand may take one minute with the right tool. This helps busy families and home cooks alike.
Knowing How to use a blender accessory also reduces strain on hands and wrists. This matters for people who cook often or have joint pain. With simple steps, cooking feels lighter and more fun.
Frequently Asked Questions
Can I use one accessory for all tasks?
No. Each accessory has a clear role. Using the wrong one can harm the tool or food texture.
How often should I clean blender accessories?
Clean them after every use. This keeps food safe and parts fresh.
Is it safe to wash accessories in a dishwasher?
Some are safe, some are not. Check your brand guide before trying this.
Why does my blender shake during use?
This often means overfilling or loose fitting. Stop and check before continuing.
Do accessories fit all blender brands?
No. Most are brand or model specific. Always match parts correctly.
Conclusion
Learning How to use a blender accessory is simple when steps are clear and calm. With the right tool, safe setup, and steady cleaning, your blender becomes a daily helper in the kitchen. You save time, get better textures, and feel more at ease while cooking.
Related posts
 Which kitchen gadgets save the most time
If you are wondering Which kitchen gadgets save the most time, the clear answer includes food processors, air fryers, pressure cookers, electric kettles, and dishwashers that…
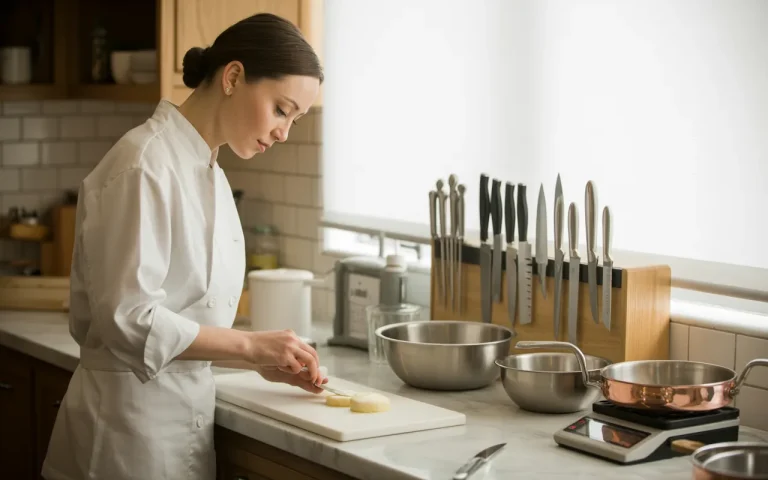 What kitchen tools do professional chefs use at home
Many home cooks ask what kitchen tools do professional chefs use at home, and the answer is simple: sharp chef’s knives, cast iron pans, stainless steel…
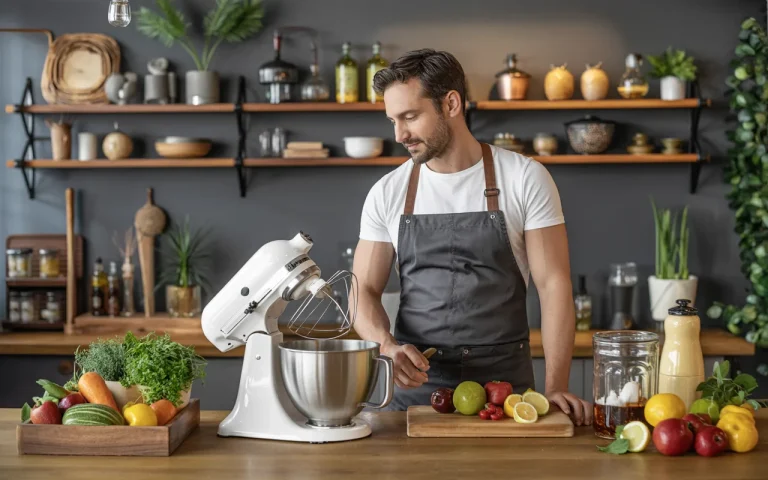 Biolomix Kitchen Food Stand Mixer
Looking for a reliable mixer for daily baking? The Biolomix Kitchen Food Stand Mixer offers strong mixing, multiple speed levels, and easy cleaning, making it a…